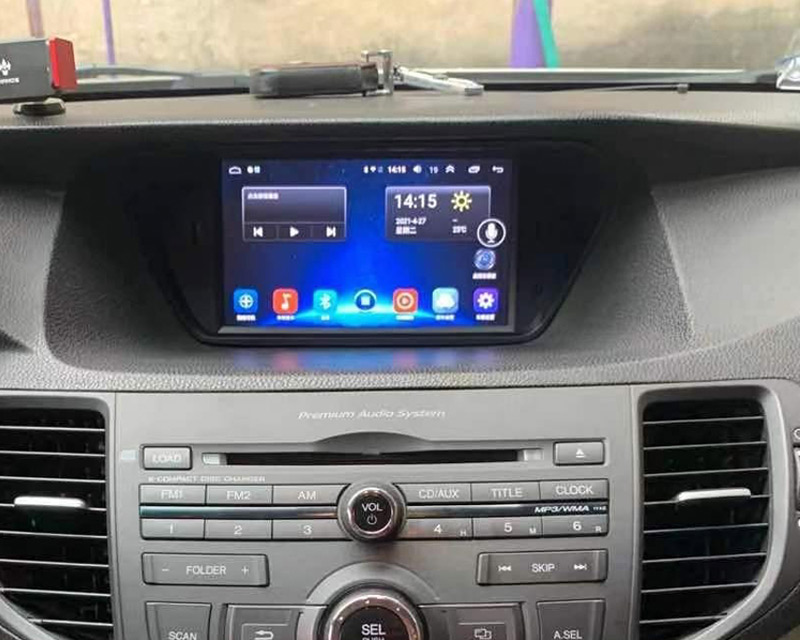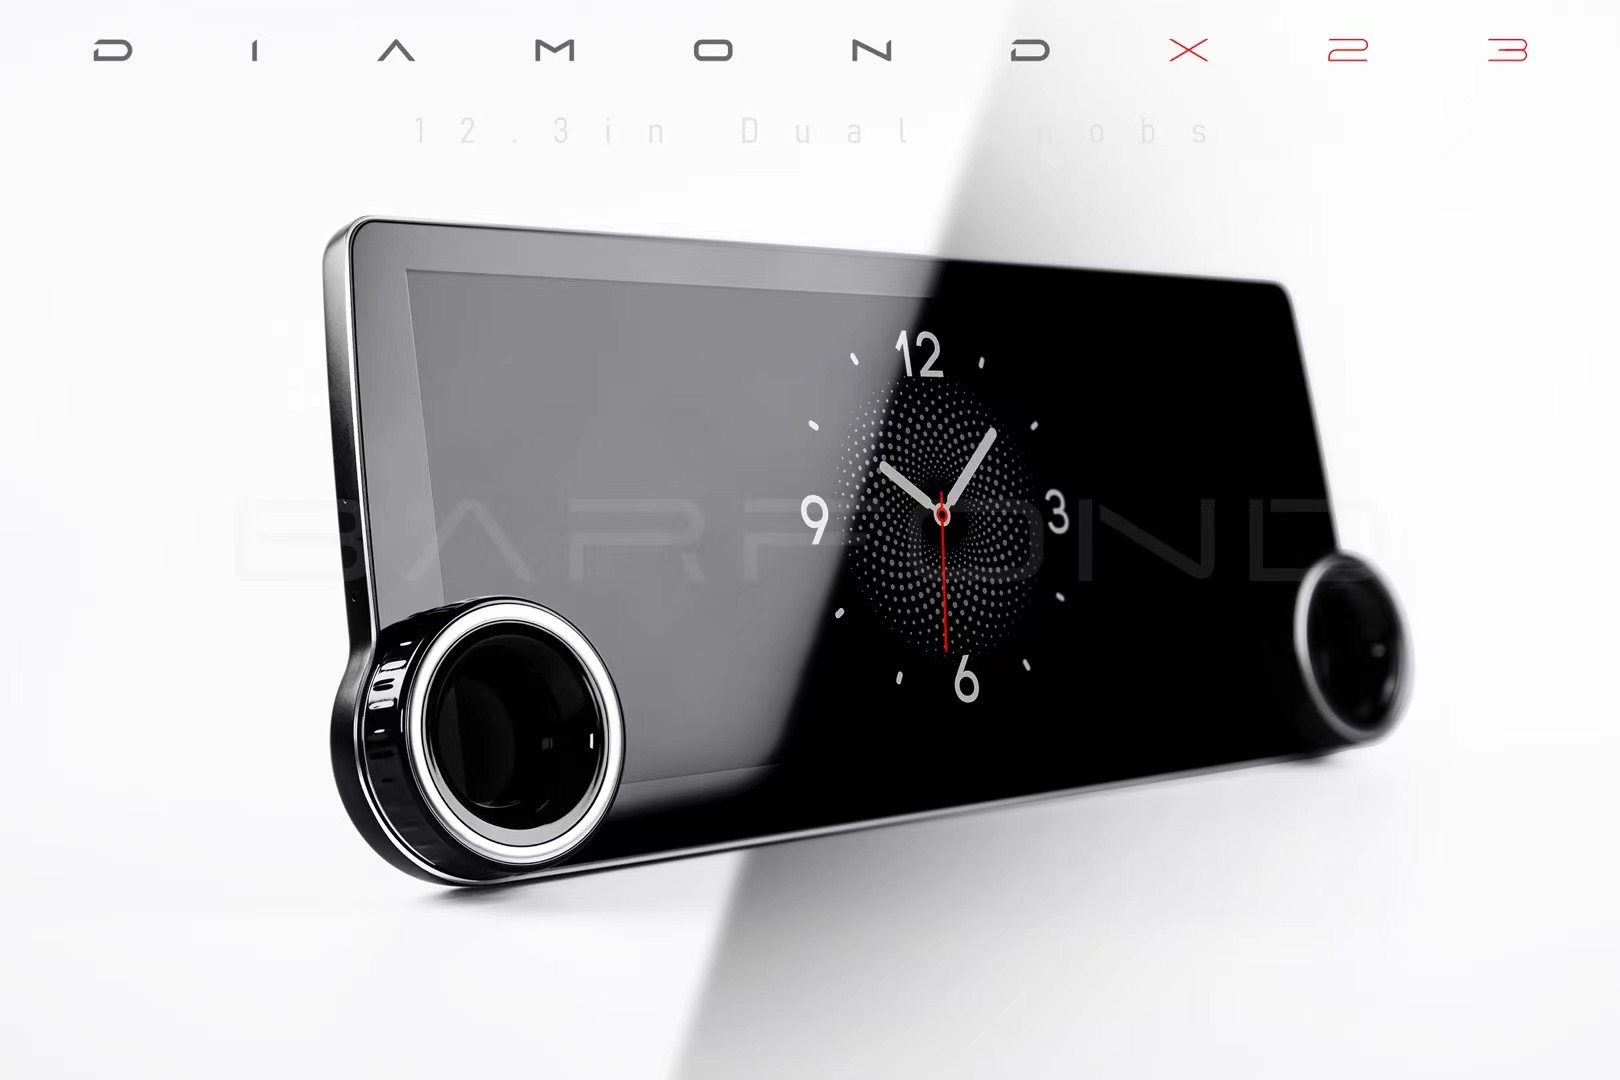
Installing an Android car stereo in a Honda Accord Euro can enhance your driving experience with features like GPS, Bluetooth, CarPlay, and more. Below is a step-by-step guide to help you through the installation process.
Tools and Materials Required:
New Android car stereo for Honda Accord Euro
• Panel removal tool (plastic trim tools)
• Phillips and flat-head screwdrivers
• Wire connectors or soldering kit
• Electrical tape
• Wiring harness adapter (specific for your vehicle)
• Antenna adapter
• Backup camera (optional)
• Steering wheel control interface (optional)
Step 1: Preparation
Power Off the Vehicle: Before beginning the installation, turn off the engine and disconnect the negative terminal of the car battery to avoid electrical shocks or short circuits.
Collect All Necessary Parts: Ensure that you have the right stereo system that fits your Honda Accord Euro and all necessary adapters like wiring harnesses and steering wheel control adapters.
Step 2: Remove the Factory Stereo
Remove the Trim Panels: Use the plastic trim tool to gently pry off the trim surrounding the factory stereo and the HVAC controls. Be careful not to damage the dashboard.
Unscrew the Stereo Unit: Once the trim is removed, you will see screws or bolts securing the stereo unit in place. Use a Phillips screwdriver to remove them.
Disconnect Wiring: Carefully pull out the factory stereo and disconnect all the wiring harnesses and the antenna cable from the back of the unit.
Step 3: Prepare for the New Stereo
Wiring Harness Connection: Use the wiring harness adapter to connect the new Android stereo’s wiring to your car’s existing wiring. This eliminates the need for cutting or splicing your car’s original wires. Match the corresponding wires (power, ground, speakers, etc.) and secure them with connectors or solder.
Connect the Antenna Adapter: Use the antenna adapter to connect the factory antenna cable to the new stereo.
Step 4: Install the New Android Stereo
Fit the New Stereo into the Dash: Slide the new stereo into the factory stereo location and screw it in securely using the screws you removed earlier.
Connect Any Optional Components: If you are installing a backup camera, steering wheel controls, or any other optional components, now is the time to connect those.
• For a backup camera, run the camera wiring from the back of the car to the head unit, connecting the video cable to the input on the new stereo.
• For steering wheel control, use a compatible adapter to integrate your car’s controls with the new system.
Step 5: Test the System
Reconnect the Battery: Reattach the negative terminal of the car battery.
Turn on the New Stereo: Power up the car and check the new stereo. Test the touchscreen functionality, audio output, Bluetooth, GPS, and other features.
Adjust Settings: Make any necessary adjustments to the sound settings, Bluetooth pairing, and radio presets.
Step 6: Reassemble the Dash
Reinstall the Trim Panels: Once you’ve confirmed that the stereo is working correctly, reattach the dash trim panels by pressing them back into place.
Step 7: Final Checks
Test the Entire System Again: Ensure all buttons, connections, and functions (radio, Bluetooth, GPS, backup camera, etc.) are working as expected.
Check for Loose Wires: Make sure no wires are exposed, and everything is securely connected.
Additional Tips:
• Read the Manual: Refer to both the car stereo’s manual and your vehicle’s manual to ensure correct installation.
• Professional Help: If you are unsure about any part of the installation process, seek help from a professional car audio technician.
By following these steps, you should be able to install an Android car stereo in your Honda Accord Euro successfully.


